| Author |
 Topic Topic  |
|
Stanley
Local Historian & Old Fart


36804 Posts

|
|
 Posted -
25/11/2004
:
14:20 Posted -
25/11/2004
:
14:20
|
I've always been fascinated by the things people do in their spare time when they can do exactly what they want to do. Men and sheds are a particularly fertile field. Women tend to do their thing in the comfort of the house.
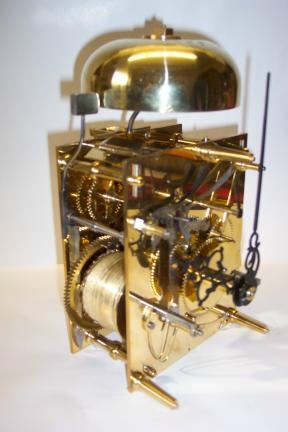
I was delighted to see Andy's picture of the clock movement he has made.
It struck me that we could perhaps start a new topic devoted to spare time skill. So Andy starts it off and my contribution is this:
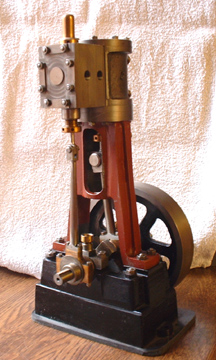
It's a small steam engine made from scratch and is based on the Stuart 5A but a longer stroke. One of these will drive a 14 foot boat with steam at 250psi. By the way, we don't like to call them models, it's exactly the same construction and materials as a full size engine, just smaller. So come on out there, let's hear about what you make in your spare time. I reckon we could be in for some surprises!
Stanley Challenger Graham

Barlick View
stanley at barnoldswick.freeserve.co.uk
|
|
| Replies |
| Author |
|
|
Stanley
Local Historian & Old Fart
36804 Posts
|
|
Posted - 05/08/2007 : 17:35
Not a big show for today's work (I watched the Grand Prix) but we move forward, all the bearing caps are drilled for the studs and oil hole and the beds for the nuts milled out. A bit more tidying up and they will be ready for fitting to the beds. Slow but steady.......
Stanley Challenger Graham
Barlick View
stanley at barnoldswick.freeserve.co.uk  |
Stanley
Local Historian & Old Fart
36804 Posts
|
|
Posted - 06/08/2007 : 06:07
I forgot to mention it yesterday but I wrote another article as well. Don't want you to think I am flagging!
Stanley Challenger Graham
Barlick View
stanley at barnoldswick.freeserve.co.uk |
Stanley
Local Historian & Old Fart
36804 Posts
|
|
Posted - 06/08/2007 : 17:21
Malcolm sent two pics of a Stuart 5A in a boat at the Windemere Boat Museum. Same engine basically as the small ones I am making.
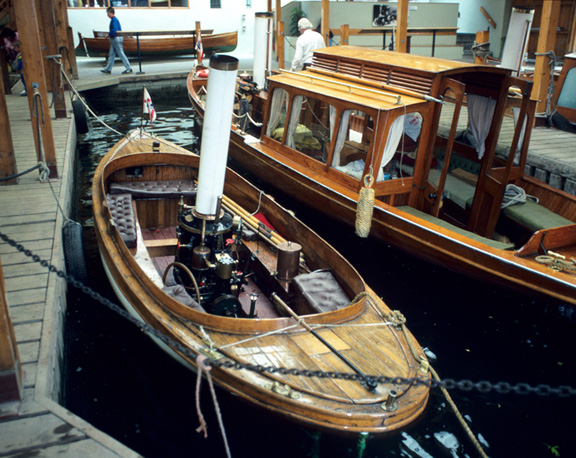
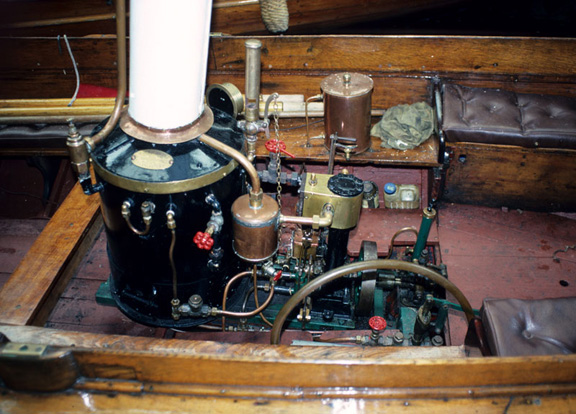
Just think what the bigger engine will do...... Hee Hee! Wrote another article today and did some tidying up on the pedestal caps. Not a serious work day but progress nevertheless.
Stanley Challenger Graham
Barlick View
stanley at barnoldswick.freeserve.co.uk |
Steve48
New Member

19 Posts
|
|
Posted - 06/08/2007 : 17:56
Very nice arent they, just love varnished wood on boats. All you need to do now Stan is build a boat and a boiler, not far to go......
Steve
|
panbiker
|
Posted - 06/08/2007 : 18:19
I made myself a bit of an aid for folding pennies today, going to give it a whirl tonight. 4" x 1" length of thin mild steel bar, I've filed half of one edge like a blade. The idea is to to use this as a former in the vice to help in the folding. Let you know if it works.
Ian |
panbiker
|
Posted - 07/08/2007 : 00:45
It worked a treat, folded more or less bang on the diameter, I've been bending, bashing, heating, plunging, cutting and filing Penny Spit MkIII. It needs a bit more work yet but my best effort so far, I think it's recognisable as a Spit. I'll put the picture up when I'm satisfied with it.
Ian |
Stanley
Local Historian & Old Fart
36804 Posts
|
|
Posted - 07/08/2007 : 06:34
Well done Ian. You're re-inventing tinsmithing! Get an old book on tin-bashing and have a read.......
Stanley Challenger Graham
Barlick View
stanley at barnoldswick.freeserve.co.uk |
Stanley
Local Historian & Old Fart
36804 Posts
|
|
Posted - 07/08/2007 : 17:57
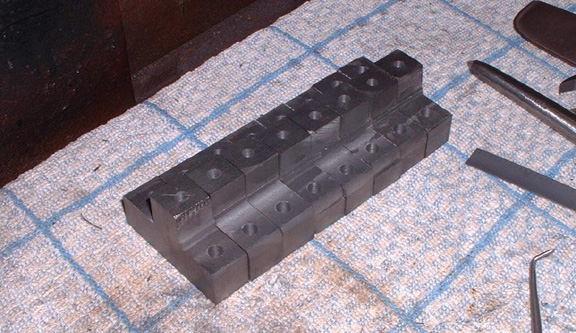
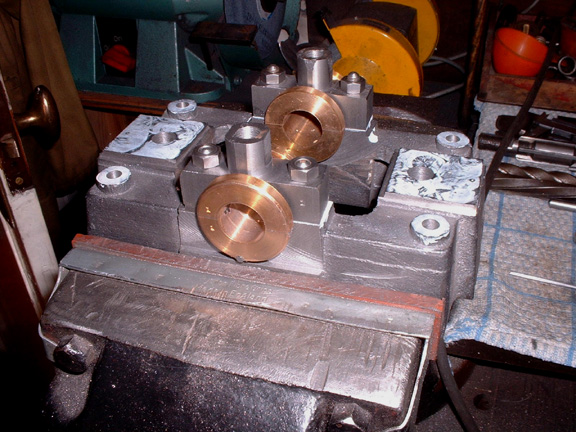
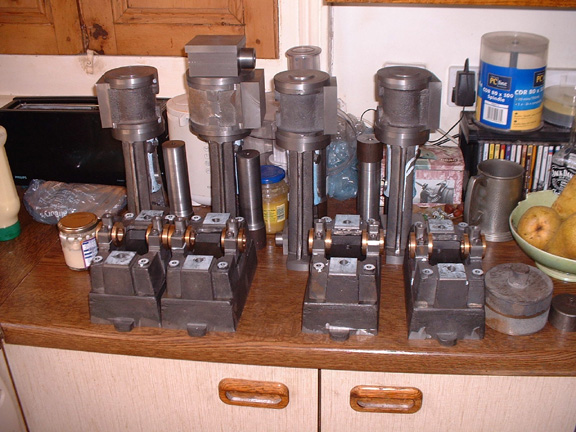
All the studs for the pedestal caps are installed and the caps fitted and centered. We need a hole.....
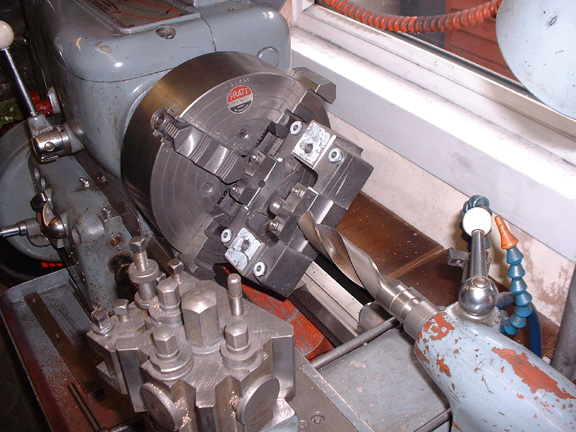
There's no point mucking about! I want a housing slightly over 17/16" so it's time to be brave and poke a big drill through, with care and very slowly. I bored the caps from each side, not straight through because it would be too hard to guarantee the right centre.
To make sure the bore is straight and the right size, I poked an adjustable reamer through.
Just to check I put a 3/4 reamer through both bores at once and then tried a 3/4 brass bar in the hole. Lovely fit and the caps are dead tight. One tip about the studs. It's very difficult to get all the studs bottomed and poking out just the right distance, too long is easy, just grind a bit off the stud. Too short is easy as well, drop a scrap of lead in the hole and tighten the stud on it. Dead tight and perfect.

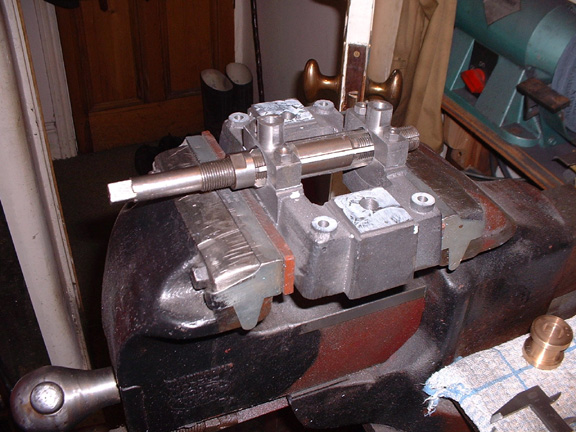
Here's the line-up..... The end one looks better than the others! It's slow but we are making progress!
Stanley Challenger Graham
Barlick View
stanley at barnoldswick.freeserve.co.uk |
softsuvner
|
Posted - 07/08/2007 : 23:27
Stanley
Filling up the bottom of a stud 'ole with a slug of lead is so obvious, I'd just never think of it! I'd end up with all the effort of making a new stud - I am making notes!
Malcolm
|
Stanley
Local Historian & Old Fart
36804 Posts
|
|
Posted - 08/08/2007 : 06:10
I'm a lazy bugger Malcolm and short of 0BA studs...... It makes you very inventive! Funny thing is that a stud bottomed on lead is probably a better anchorage than a straight hole because the hole bottom fits the stud perfectly and acts as a shock absorber.
Stanley Challenger Graham
Barlick View
stanley at barnoldswick.freeserve.co.uk |
Stanley
Local Historian & Old Fart
36804 Posts
|
|
Posted - 08/08/2007 : 17:43
I once saw a bloke get a broken peg out of a blind hole by drilling a hole down the middle right down to the base, filling the hole with grease and inserting a close fitting rod and hitting it with a hammer. He had to refill the hole twice with grease but it did the trick and blew the peg out. I've never had to do it but I have it stored up in case the occasion arises.
Stanley Challenger Graham
Barlick View
stanley at barnoldswick.freeserve.co.uk |
Steve48
New Member
19 Posts
|
|
Posted - 08/08/2007 : 19:23
Hi Folks,
The engines are coming along very well now, looking the part as they say. I like your tip on peg removal, the power of hydraulics is never to be underestimated.
Well I have my own bit of trepanning amongst other things to share with you, but again I shall paste a link for anyone interested, as it's kind of grown into a lengthy few pages on my site.
http://www.workshopman.co.uk/uphill_and_son/pages/engineering/machinery/lorch%20schmidt/lorch%20page%2003.htm
All the best Steve
|
Stanley
Local Historian & Old Fart
36804 Posts
|
|
Posted - 09/08/2007 : 06:05
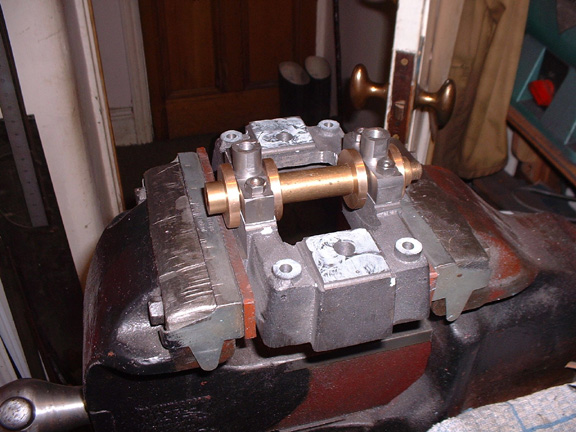
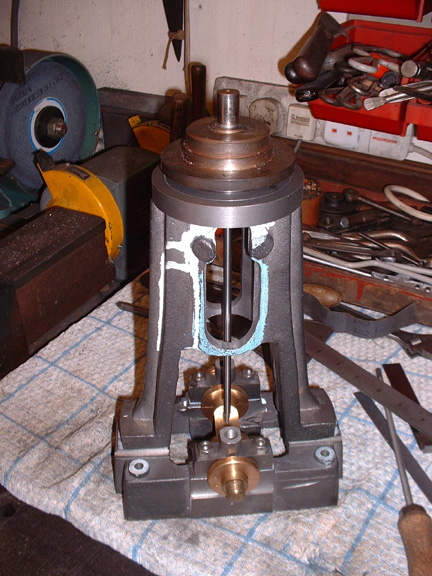
Still working on the beds. Here's the first small engine with the bearings fitted, I'd got to this stage on Tuesday night but then I had two more jobs to do. Fit a steel peg in the bottom half of the shells to locate them on the bed and drill the oil hole in the top shell.
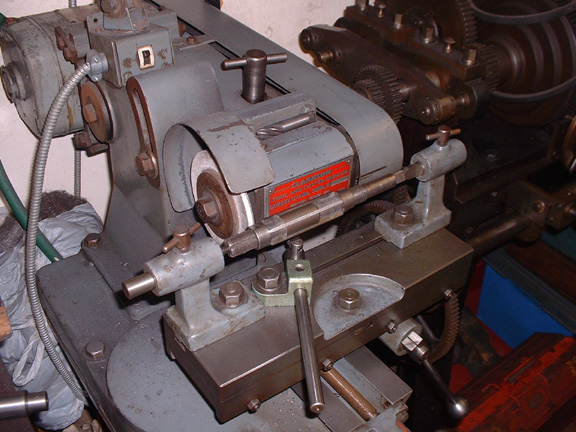
Then I allowed myself to be diverted and sharpened the adjustable reamer I was using. Never thought of doing one before but what a wonderful improvement. The T&C grinder is so handy.
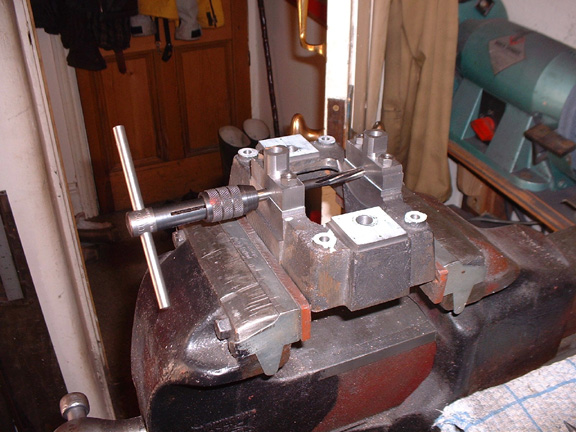
Forward with the beds.... Here's the 5/16 reamer going through the pilot holes, not to clean them up as they are only a pilot for the big drill but just to make sure that they are in line and on the centre line of the bed.
The siver steel magic wand in place before grabbing the bed in the four jaw for boring with the big drill. Handy for getting somewhere near straight. Final adjustment done with the tail stock centre. Then into the vice and poke the big adjustable reamer through both at the same time before fitting the shells. I had visitors in the afternoon but even so I was at the stage where the third bed is in the chuck ready to be bored. It struck me last night that after boring the beds on this and the next soleplate, I shall have to decide on the relationship of the two beds as they have to be bolted together and the matching face will have to be milled off with the bearings out so I might as well do it now. My reason for this is that all four bearings will have to be lined up and it will be a lot easier if the matching faces are milled and the beds capable of being bolted together. Progress.......
Stanley Challenger Graham
Barlick View
stanley at barnoldswick.freeserve.co.uk |
Stanley
Local Historian & Old Fart
36804 Posts
|
|
Posted - 09/08/2007 : 16:26
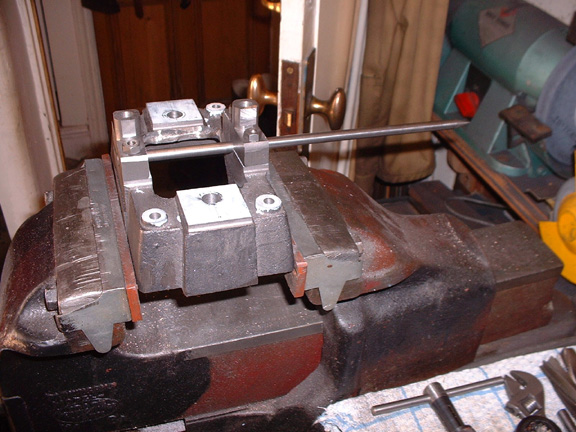
Here's the line-up at lunchtime... all the bearings installed, lined up, pegged and oil holes drilled. I realised when I did the last one that I didn't have to worry about the joining of the beds yet because the soleplates don't need anything taking off them.
I spent a pleasant hour making a centre which fits in the head of the column, registered in exactly the same position as the centre of the cylinder with a silver steel pointer that reaches just short of the centre of the shaft. I've milled the dummy shaft out and tomorrow I'll find a centre on the flat and use this set-up to get the standards dead central in relation to the shaft. Time well spent I think. I never bothered much with the first one I made and it showed when I did the final fitting. These engines will be dead on the mark or I'll know the reason why.
Stanley Challenger Graham
Barlick View
stanley at barnoldswick.freeserve.co.uk |
pluggy
|
Posted - 09/08/2007 : 23:07
I feel crankshafts coming on...... 
Need computer work ?
"http://www.stsr.co.uk" 
Pluggy's Household Monitor |


